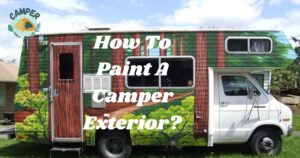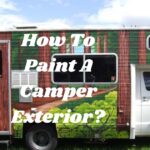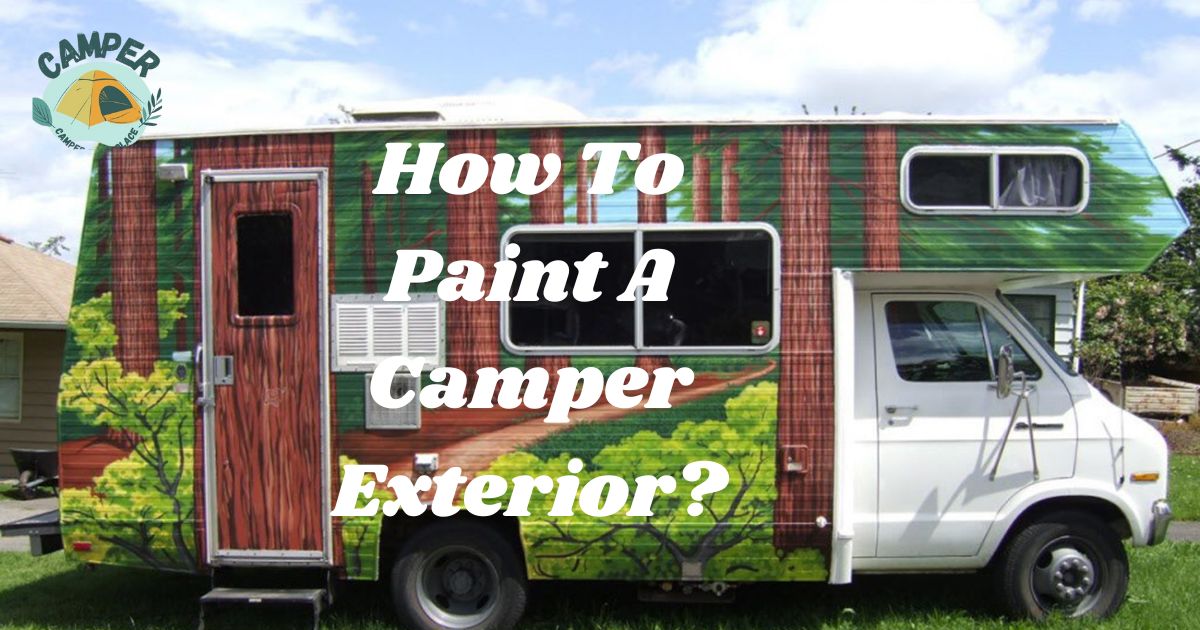
Painting a camper exterior involves applying a fresh coat of paint to the outer surface of the vehicle. This process enhances the appearance, protects against weathering, and allows for personalization by choosing different colors or designs.
Reveal the secrets of transforming your camper’s look with a vivid makeover. Wondering How to Paint a Camper Exterior? Dive into a world of creativity as we guide you through the step-by-step process, helping you achieve a stunning and durable finish that reflects your unique style.
Painting a camper exterior is a simple process that involves cleaning the surface, applying primer, and then adding a top coat of paint. Begin by prepping the camper, choose the desired color, and follow the easy steps to give your camper a fresh and vibrant new look.
How to Clean an RV Before Painting?
Before painting your RV and installing RV hookups, start by cleaning the exterior thoroughly. Remove any dirt, grime, or loose paint using a soft brush or pressure washer.
Ensure the surface is dry and free from any contaminants that might affect the paint adhesion. Choose a mild detergent or RV-specific cleaner to wash the vehicle.
Avoid harsh chemicals that can damage the paint or the underlying material. Gently scrub the surface with a soft sponge or cloth, paying attention to areas with stubborn stains. Rinse thoroughly to remove all soap residue.
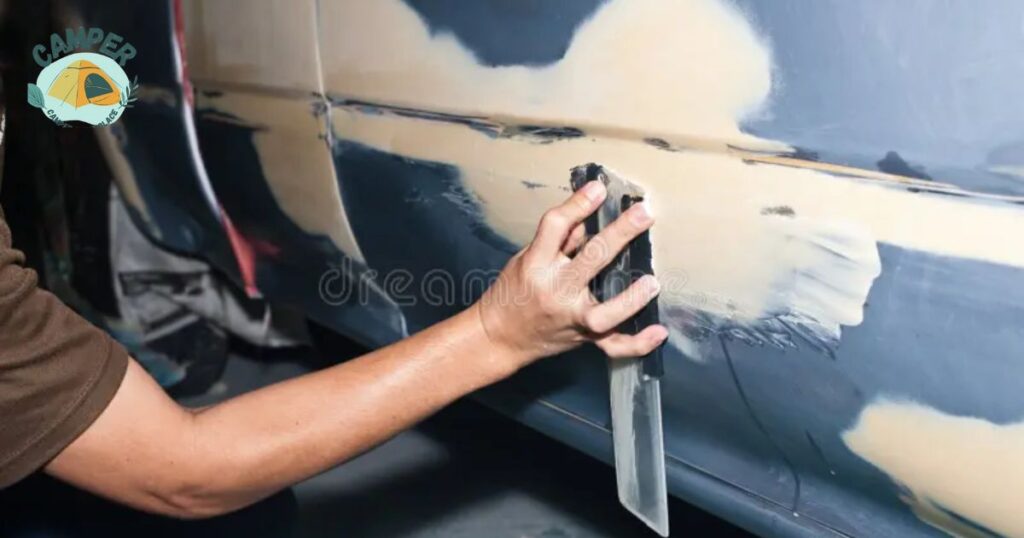
After cleaning, lightly sand the entire surface to create a smooth and even texture for the new paint. Wipe away any dust with a clean cloth.
Apply a primer designed for the specific material of your RV, as this helps the paint adhere better and ensures a longer-lasting finish.
Once the primer is dry, your RV is ready for a fresh coat of paint. Now here we will completely guide you step by step on How to paint your RV exterior.
How to Remove RV Decals Before Painting?
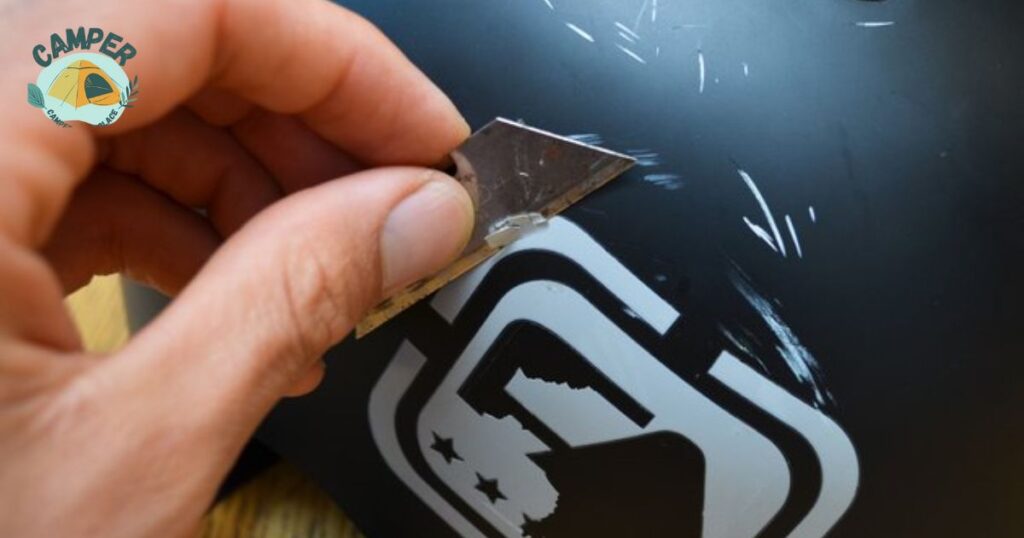
When preparing to paint your camper, you face a decision regarding any existing decals. You can either opt to remove them before painting or paint directly over them.
If your camper is relatively new, and manufactured within the past two decades, removing the decals might be a smoother process.
This is because newer decals are often more responsive to removal techniques, making the overall painting experience more manageable and yielding better results.
Heat Application
Begin by using a heat gun or hairdryer to warm the decals. Apply heat evenly over the decal, holding the tool a few inches away.
This helps soften the adhesive and makes it easier to peel off without damaging the underlying surface.
Peeling Technique
Once the decal is heated, start peeling it off slowly and at a low angle.
Use a plastic scraper or your fingers, ensuring you pull the decal away gradually. If any resistance is felt, reapply heat to the resistant area and continue peeling.
Adhesive Residue Removal
After removing the decal, there may be adhesive residue left on the RV surface. Use a gentle adhesive remover, rubbing alcohol, or a mixture of warm water and mild detergent to clean off the sticky residue. Avoid using abrasive materials that could scratch the surface.
Soapy Water Wash
Clean the entire area with a soapy water solution using a soft sponge or cloth. This ensures that any remaining residue is completely removed, and the surface is ready for further preparation before painting.
Surface Inspection
Inspect the area for any leftover adhesive or ghosting marks. If needed, repeat the adhesive removal process until the surface is entirely clean. A smooth surface is crucial for the new paint to adhere properly.
Final Clean and Dry
Finish the process by giving the entire RV a final wash with clean water to remove any lingering cleaning agents.
Ensure the surface is completely dry before proceeding with any sanding, priming, or painting steps. This sets the stage for a successful and long-lasting paint job.
How to Paint Over Decals on a Camper?
Begin by cleaning the camper surface thoroughly. Remove dirt and grime using a mild detergent or specialized cleaner.
Sand the area around the decals lightly to create a smooth surface for the new paint. Wipe away any dust to ensure optimal paint adhesion.
If possible, remove old decals using a heat gun or hairdryer to soften the adhesive and peel them off gently.
If removal is impractical, consider covering the decals with a primer designed for the camper’s material. This helps prevent the old decals from bleeding through the new paint.
Apply a high-quality paint suitable for outdoor use and compatible with the camper’s material. Use a brush, roller, or spray paint, depending on your preference and the size of the area.
Apply multiple thin coats, allowing each layer to dry before adding the next. This ensures a smooth and even finish, giving your camper a fresh, updated look.
Priming a Camper Exterior Before Painting
Before painting your camper’s exterior, it’s crucial to prime the surface properly. Start by cleaning the camper thoroughly to remove dirt and debris. Use a mild detergent and water to ensure a clean and smooth surface for the primer.
Next, inspect the camper for any rust or peeling paint. Sand the affected areas gently to create a smooth surface. Apply a rust inhibitor if needed to prevent further corrosion.
Once the surface is prepared, use a high-quality primer designed for outdoor use. Apply the primer evenly using a paintbrush or spray gun, following the manufacturer’s instructions.
Allow the primer to dry completely before moving on to the final paint coats.
Priming helps the paint adhere better and provides a protective barrier against the elements. It ensures a more durable and long-lasting finish for your camper’s exterior.
Taking the time to prime properly will result in a professional-looking paint job that enhances both the appearance and durability of your camper.
Best Paint to Use on the Outside of a Camper
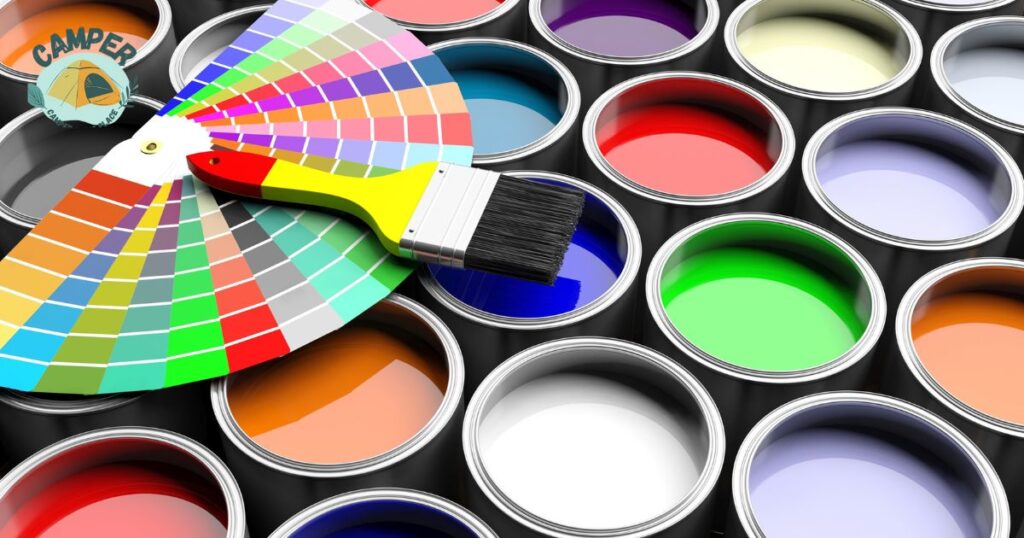
Choosing the best paint for the outside of your camper is essential for a lasting and attractive finish.
Look for paints specifically designed for outdoor use, as they offer better durability and weather resistance.
Acrylic paints, enamel paints, and marine-grade paints are excellent choices for camper exteriors.
One popular option is Rust-Oleum Stops Rust Protective Enamel, known for its corrosion resistance and long-lasting finish.
Another reliable choice is Behr Premium Plus Ultra Exterior Paint, offering excellent coverage and weather resistance.
If you’re looking for marine-grade paint, Interlux Brightside Polyurethane is a durable option that provides a glossy and protective coating.
When selecting a paint, consider factors like the camper’s material, weather conditions, and your desired finish.
Always follow the manufacturer’s instructions for preparation and application to achieve the best results.
Investing in high-quality paint will not only enhance the camper’s appearance but also protect it from the elements, ensuring a vibrant and long-lasting finish.
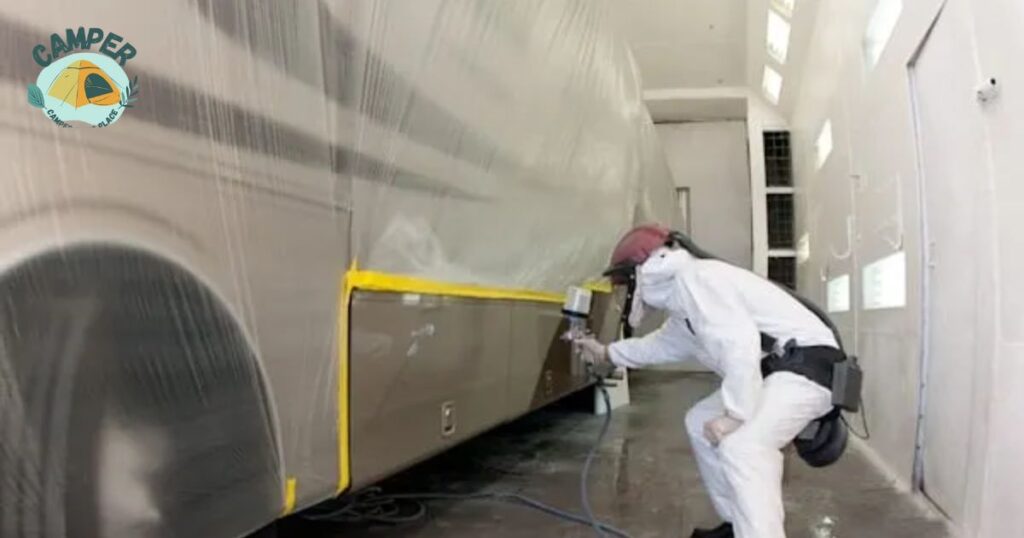
Professional RV Painter vs. Painting Yourself
Hiring a professional RV painter or taking on the painting project yourself each has its advantages and considerations.
Professional RV Painter
Expertise: A professional painter has the skills and experience to ensure a high-quality finish. They understand the intricacies of RV surfaces and can handle any challenges that may arise during the process.
Time-Saving: Hiring a professional can save you time and effort. They are equipped with the right tools and can complete the job efficiently, allowing you to focus on other aspects of RV maintenance or travel preparation.
Quality Assurance: Professionals use top-notch materials and techniques, providing a durable and long-lasting paint job. They may also offer warranties, giving you peace of mind about the quality of their work.
Painting Yourself
Cost Savings: Doing it yourself can be more budget-friendly as you won’t incur labor costs. You can choose the paint and supplies based on your budget and preferences.
Personalization: Painting your RV allows for creative freedom and personalization. You can choose colors, designs, and finishes that reflect your style and preferences.
Learning Experience: Taking on the project yourself can be a valuable learning experience. It provides a sense of accomplishment and a deeper understanding of your RV’s exterior, which may be beneficial for future maintenance.
Ultimately, the choice between a professional RV painter and a DIY approach depends on your budget, time, skills, and preferences.
If you prioritize a flawless finish and convenience, hiring a professional may be the best option. If you enjoy hands-on projects, have the time, and want to save money, painting the RV yourself can be a rewarding undertaking.
How Much Does It Cost to Paint an RV?
The cost of painting an RV can vary widely depending on several factors such as the size of the RV, the type of paint used.
The condition of the existing paint, and whether you choose to do it yourself or hire a professional. Here are some general estimates:
DIY Cost
- If you choose to paint the RV yourself, the cost can range from $500 to $2,000 or more, depending on the quality of paint, primer, and other supplies you use.
- DIY costs are lower, but keep in mind that your time and effort are also valuable, and the quality of the finish may not match that of a professional.
Professional Cost
- Hiring a professional RV painter can cost anywhere from $2,000 to $10,000 or more.
- Larger RVs or those with intricate designs may incur higher costs.
- Factors such as the condition of the RV’s exterior, the type of paint selected, and additional services (such as repairs or detailing) can influence the overall cost.
It’s essential to get quotes from several reputable RV painting professionals if you decide to go that route.
Make sure the quotes include all necessary preparations, priming, painting, and any additional services required. Additionally, inquire about warranties and guarantees for the work performed.
Remember that these estimates are general and can vary based on location, the specific requirements of your RV, and the preferences you have for the paint job.
How to Paint Clean Lines on an RV Camper?
Achieving clean lines when painting an RV camper involves a series of meticulous steps to ensure a professional finish.
Start by thoroughly cleaning the entire exterior of the RV to remove dirt, dust, and grime. Allow the surface to dry completely before proceeding.
Address any rough spots or peeling paint by gently sanding them, creating a smooth canvas for the upcoming paint job.
Once the surface is prepared, carefully mask off areas you don’t want to paint using high-quality painter’s tape.
Ensure a tight seal by pressing down firmly on the edges of the tape to prevent any paint bleed. With the masking complete, apply a primer specifically designed for the RV exterior, allowing it to dry thoroughly before moving on to the next stage.
Choosing the right paint is crucial for achieving clean lines. Opt for a high-quality paint suitable for outdoor use, and consider one with a built-in UV protectant to prevent fading.
Whether you’re using a paintbrush for smaller areas or a spray gun for larger surfaces, invest in a quality applicator.
Follow the manufacturer’s recommendations for the type of applicator to ensure precise and even application.
As you apply the paint, start with edges and corners using steady and even strokes. For larger areas, maintain consistency with long, straight strokes, slightly overlapping to avoid streaks.
Once the paint is dry to the touch but not fully cured, carefully remove the painter’s tape at a 45-degree angle to prevent peeling.
After tape removal, inspect the painted lines for imperfections, promptly addressing any areas that need touch-ups to maintain the desired clean and sharp lines on your RV camper.
Taking time and attention to detail throughout the process will contribute to a polished and professional outcome.
Frequently Asked Questions
What kind of paint do you use on the outside of a camper?
Use exterior acrylic or enamel paint for the outside of a camper.
How do you paint the outside of an aluminum camper?
Clean the surface, apply a primer designed for aluminum, and use acrylic or enamel paint for the exterior of an aluminum camper.
Will paint stick to camper walls?
Yes, as long as the camper walls are properly cleaned, and primed, and the right type of paint is used, paint will adhere effectively.
What is the best paint for campers?
Acrylic or enamel paints designed for exteriors are often the best choice for campers, providing durability and weather resistance.
Do you need a primer to paint camper walls?
Yes, using a primer is recommended before painting camper walls to ensure better adhesion and a more durable finish.
Final Thoughts
Painting a camper exterior involves several simple yet crucial steps. Begin by cleaning the camper thoroughly and addressing any surface imperfections through gentle sanding.
Proper masking and protection of non-paint areas ensure a neat and professional finish. Choosing high-quality paint applying it with care, and using the right tools contribute to a durable and attractive result.
Removing masking tape at the right time prevents paint peeling, and a final inspection for touch-ups ensures a polished appearance. I hope this question How to Paint a Camper Exterior? Is solved now.
Remember, regular maintenance, including cleaning and waxing, will help preserve the freshly painted look of your camper. Whether you choose to take on the task yourself or hire a professional, following these steps ensures a successful camper exterior painting project that stands the test of time.

Jackson Ray, a seasoned blogger with a decade of experience, is the creative mind behind “camperthingsplace.com.” Explore his wealth of insights and passion for camping through engaging content on the website.